RADIUS Authentication for Windows Server
1.0 Introduction
2.0 Requirements
- IoT-max Appliance
- IoT Secure Firewall License
- Windows Server 2012 R2 or newer
3.0 Windows Server Configuration
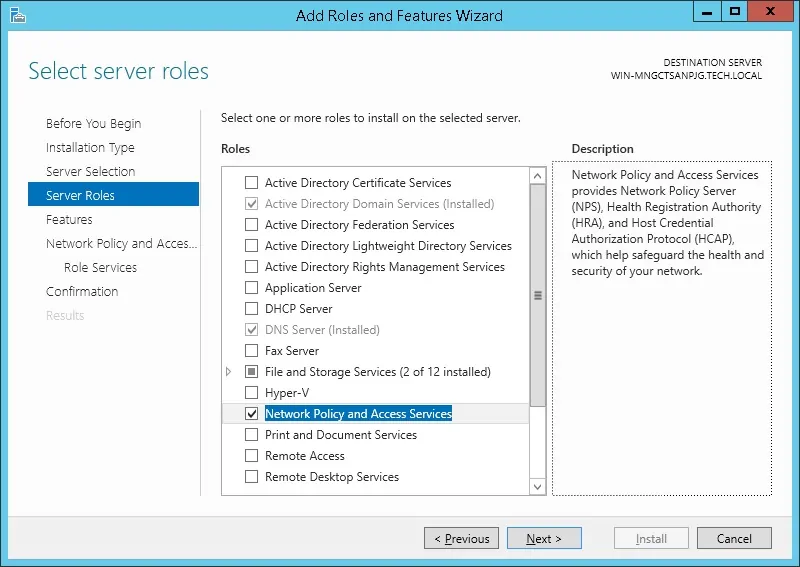
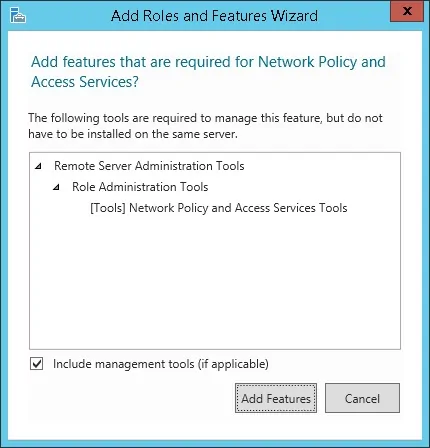
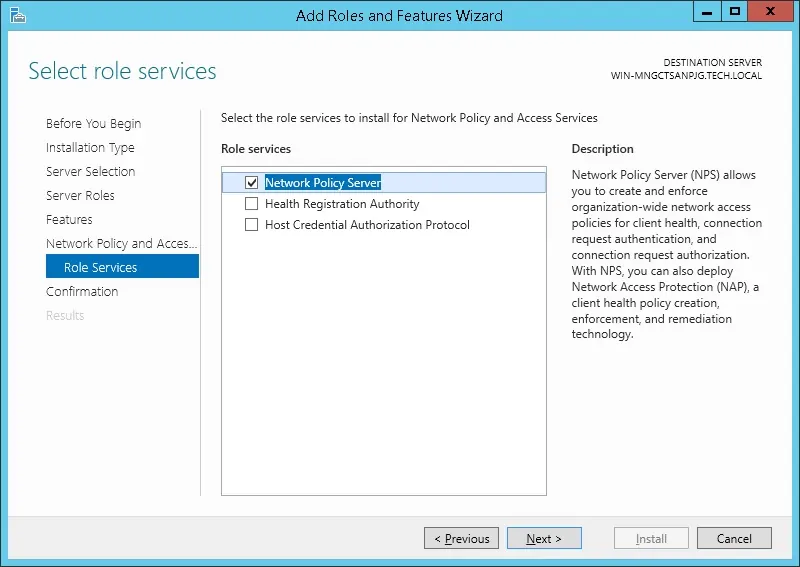
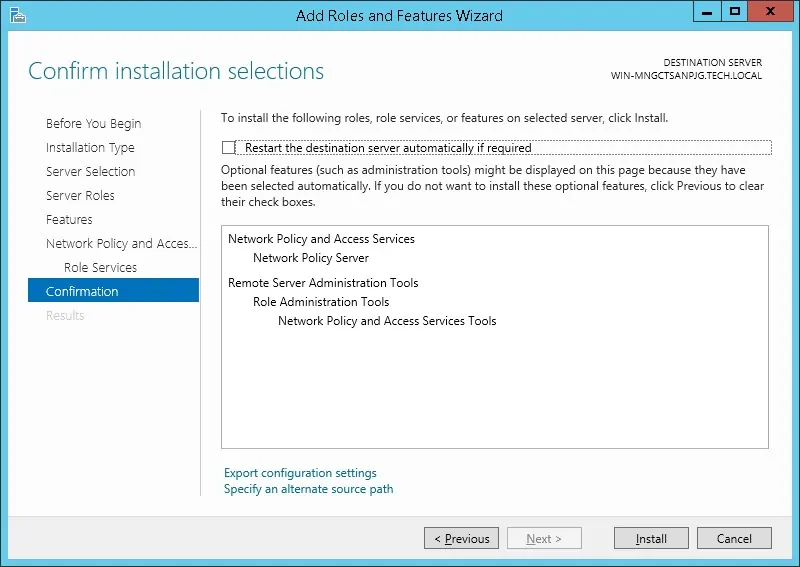
3.1 Add Server Role
Click on the Next button.
3.2 Enable User Authentication
Next, we need to create at least 1 account on the Active directory database.
The MIKROTIK account will be used to login on the Mikrotik device.
On the domain controller, open the application named: Active Directory Users and Computers
Create a new account inside the Users container.

Create a new account named: mikrotik
Password configured to the MIKROTIK user: 123qwe..
This account will be used to authenticate as admin on the Mikrotik device.


Congratulations, you have created the required Active Directory accounts.
Next, we need to create at least 1 group on the Active directory database.
On the domain controller, open the application named: Active Directory Users and Computers
Create a new group inside the Users container.

Create a new group named: Mikrotik-admin
Members of this group will have the Admin permission on the Mikrotik device.

Important! Add the mikrotik user as a member of the Mikrotik-admin group.

Congratulations, you have created the required Active Directory group.
Tutorial Radius Server - Add Client Devices
On the Radius server, open the application named: Network Policy Server
You need to authorize the Radius server on the Active directory database.
Right-click on NPS(LOCAL) and select the Register server in Active Directory option.

On the confirmation screen, click on the OK button.
Next, you need to configure Radius clients.
Radius clients are devices that will be allowed to request authentication from the Radius server.
Important! Do not confuse Radius clients with Radius users.
Right click on Radius Clients folder and select the New option.

Here is an example of a Client configured to allow a Mikrotik device to connect to the Radius server.
You need to set the following configuration:
• Friendly name to the device - Add a description to your Mikrotik
• Device IP Address - IP address of your Mikrotik
• Device Shared secret - kamisama123
The Shared secret will be used to authorize the device to use the Radius server.
You have finished the Radius client configuration.
Tutorial Radius Server - Configure a Network Policy
Now, you need to create a Network Polity to allow authentication.
Right click on the Network Policies folder and select the New option.
Enter a name to the network policy and click on the Next button.

Click on the Add condition button.
We are going to allow members of the MIKROTIK-ADMIN group to authenticate.

Select the User group option and click on the Add button.

Click on the Add Groups button and locate the MIKROTIK-ADMIN group.

Select the Access granted option and click on the Next button.
This will allow members of the MIKROTIK-ADMIN group to authenticate on the Radius server.

On the Authentication Methods screen, select the Unencrypted authentication (PAP, SPAP) option.

If the following warning is presented, click on the No button.

Select the Vendor Specific radius attribute option and click on the Add button

Select the Custom vendor option.
Select the Vendor-Specific Attribute and click on the Add button.

Click on the Add button.

Set the Vendor Code: 14988
Select: Yes, it conforms.
Click on the Configure Attribute button.

Set the Vendor-assigned attribute number: 3
Select the Atribute format: String
Enter the Attribute Value: full

The NPS Radius server will pass the vendor specific information back to the Mikrotik device.
The Mikrotik will give the authenticated users read-write permission over the device.

Verify the Radius server configuration summary and click on the Finish button.

Congratulations! You have finished the Radius server configuratio
• IP - 192.168.15.20.
• Operacional System - RouterOS 6.45.7
• Hostname - MikroTik
On the Mikrotik router console, use the following command to
Perform the following Radius configuration:
• Radius IP address - 192.168.15.10
• Radius Shared Secret - The Radius Client shared secret (kamisama123)
You need to change IP address of the Radius server to reflect your Radius server IP address.
You need to change the Shared secret to reflect your Radius client shared secret.