Configure Journaling - Microsoft O365
1.0 Introduction
2.0 Setup Journaling
2.1 Add a Remote Domain and Connector
- Log into Microsoft 365 Exchange admin center.
- Navigate to mail flow > remote domains.
- Select Add a remote domain.
- Complete the following:
- Name: IoT Secure Archiving
Remote domain: archive.iotsecure.io
- Name: IoT Secure Archiving
- Click Next.
- Define the following settings:
- In the Out of Office automatic reply types section, click None.
- In the Automatic replies section, select Allow automatic forwarding and uncheck Allow automatic replies. Click Next.

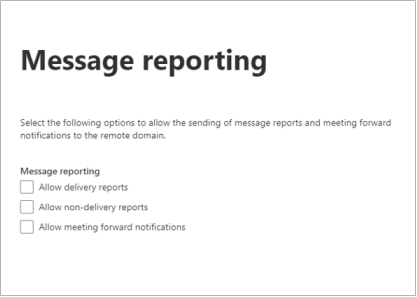
- In the Message reporting section, uncheck Allow delivery reports and Allow non-delivery reports. Click Next.
In the Use rich-text format section, select Never. Click Next.

- Review your settings, and then click Save.
- Navigate to Mail flow > Connectors.
- Click Add a connector.
- Define the following settings:
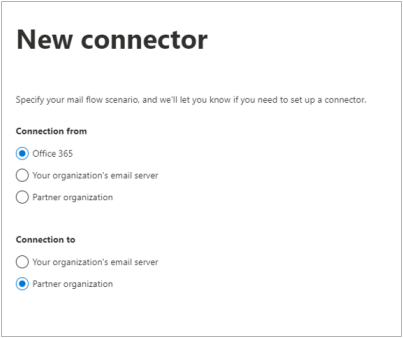
- In the Connection from section, select Office 365.
- In the Connection to section, select Partner organization. Click Next.
- Enter a Name for the connector. Click Next.
- Define the following settings:
- Select Only when email messages are sent to these domains.
- Type archive.iotsecure.io and then, click the blue +. Click Next.
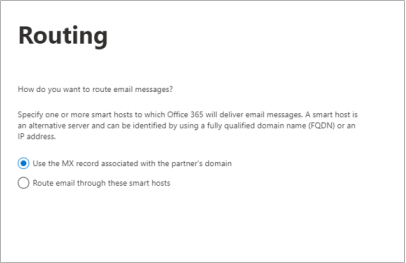
- Select Use the MX record associated with the partner's domain. Click Next.
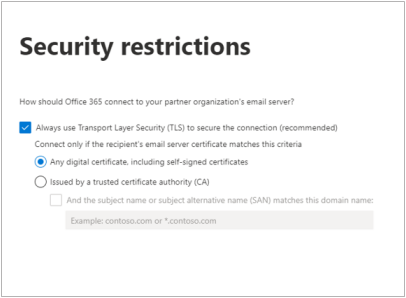
Select Always use Transport Layer Security (TLS) to secure the connection (recommended) > Any digital certificate, including self-signed certificates. Click Next.
- Get your unique Journalg Address from IoT Secure.
- In Microsoft 365, paste this email address into the provided field in the Verification page. Click the blue +, and then click Validate. The connector validation process starts.
 Note that the validation might fail. If the validation fails, click Next. You will see a yellow banner to confirm that you want to continue without successful validation. Click Yes.
 - Click Next. Review your settings and click Create Connector.
The connector is created.
2.2 Create a Non-Delivery Report Recipient
To create an NDR recipient:
- Log into the Microsoft Purview compliance portal, navigate to Solutions > Data lifecycle management > Exchange (legacy).
- Click the Settings icon.
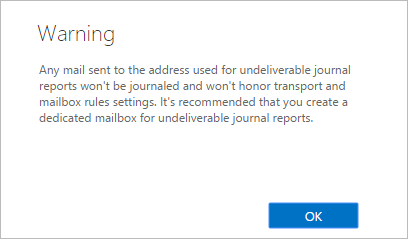
In Send undeliverable journal reports to, enter the email address of a valid user account. Note that the mailbox must be a mail user, mail contact, or external user, not an Exchange Online Mailbox.
Click Save.
2.3 Configure Microsoft 365 to Send Journal Mail
- Log into the Microsoft Purview compliance portal, navigate to Solutions > Data lifecycle management > Exchange (legacy) > Journal rules, and then select + New rule.
- On the Define journal rule settings page, provide a name for the journal rule and then configure the following options:
Send journal reports to – Enter the journaling address from IoT Secure. This is called the journaling mailbox.
Journal rule name: IoT Secure Archiving Service
Journal messages sent or received from – Select Apply to all Messages.
Type of message to journal – Select All Messages.
Select Next, review the settings, and then click Submit to create the journal rule.